Blog
How to Make a Fursuit: A Step-by-Step Guide?
The process of creating a fursuit is extremely difficult but tremendously rewarding. Making your own fursuit is one of the best methods of executing your idea, whether it’s for a furry, cos player, or artist who wants to develop a unique character concept. Fursuits are a challenging project that requires a great deal of artistic and craftsmanship expertise as well as an accurate understanding of various materials and methods. We’ll lead you through the entire process of creating your own fursuit in this tutorial.
1. Fundamentals of Fursuits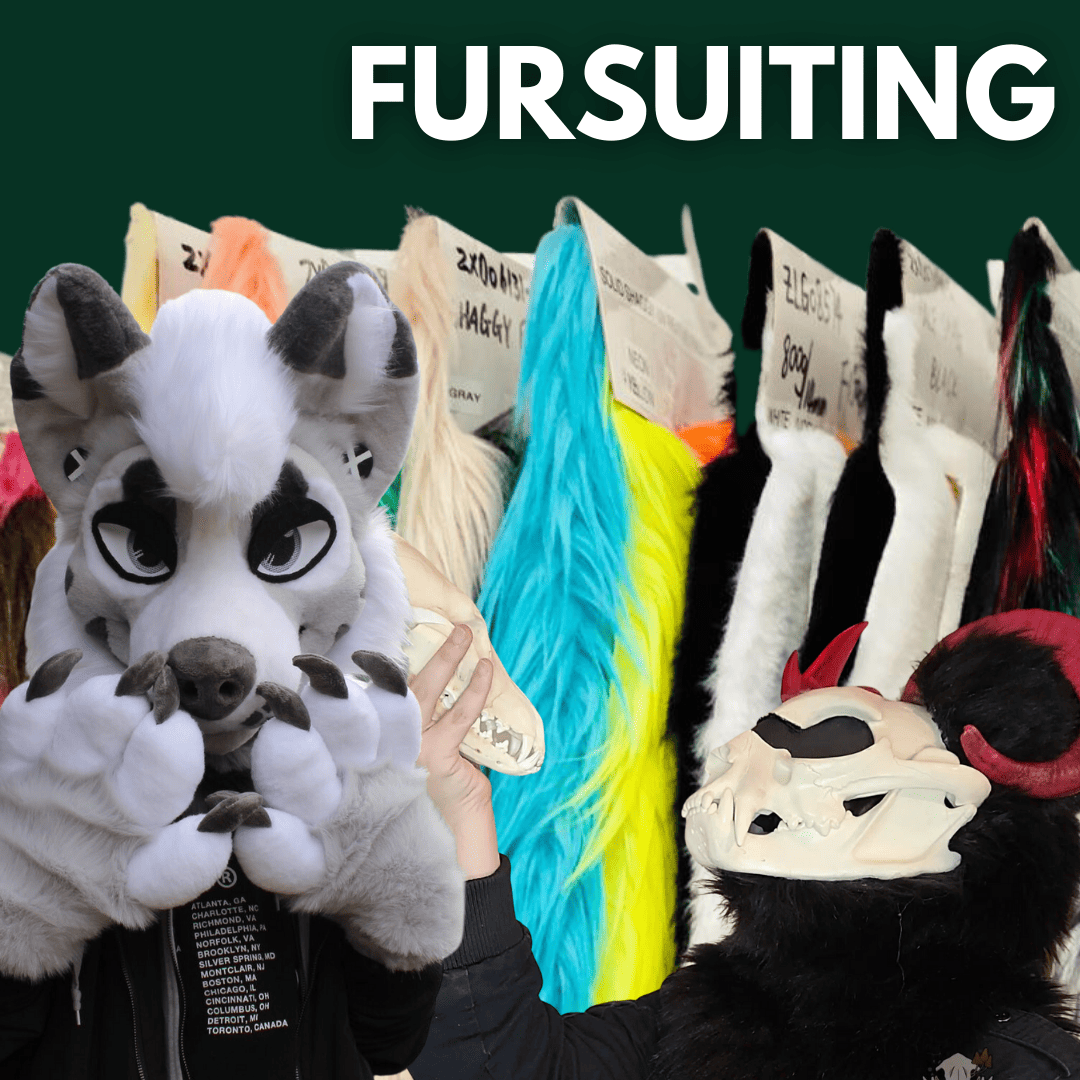
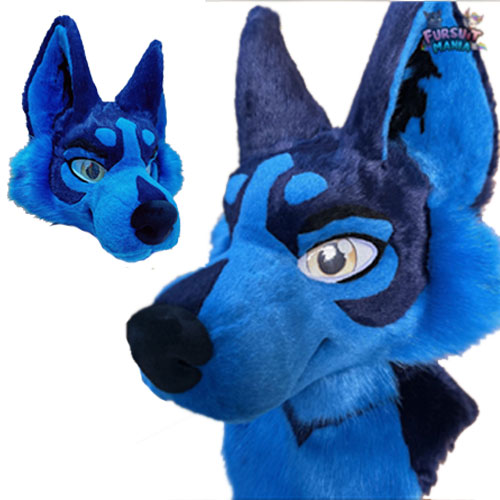
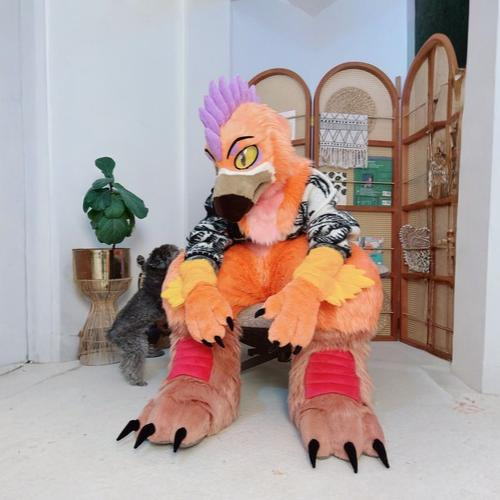
It’s important to understand a fursuit’s composition before moving further into the process. The fursuit package consists of many parts, such as the head, body, hands, feet, and tail. Fabrics, foam, and imitation fursuits are the materials utilised to create the fursuits. The goal is to replicate the character’s or animal’s character. It may take many weeks to complete this process.
Fursuit Components
• Head: Made mostly of foam, the head is always the most complex component. The face is composed of a framework.
• Body: A synthetic fursuit makes up the entire body of this suit.
• For ease and comfort, hands and feet may be separate entities. They may also be made of fursuit and foam.
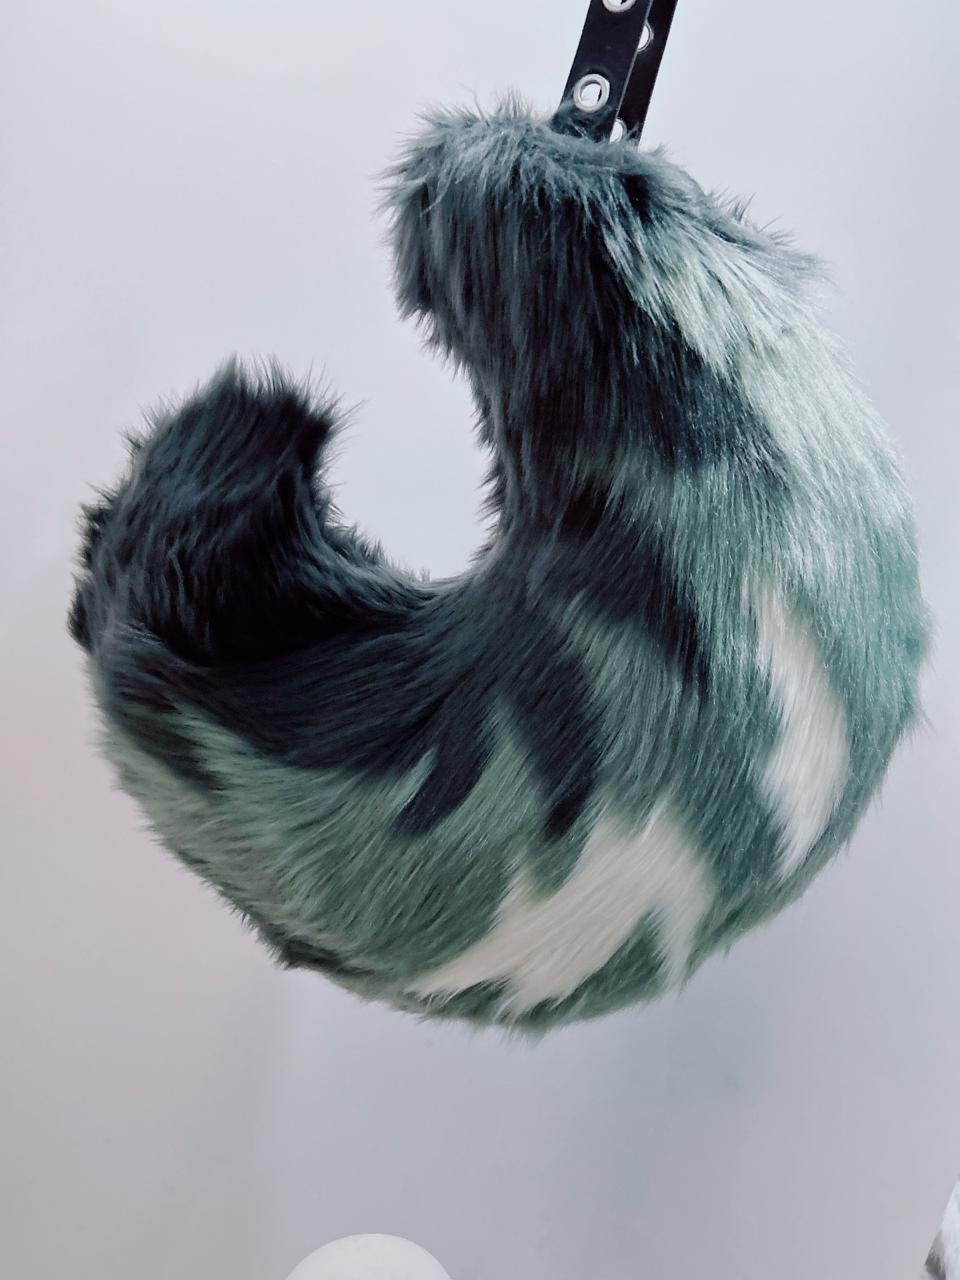
•Tail: Tail is optional but often used for animal characters.
2. Compile Your Materials.
 Collecting all the materials needed for construction is the first step in making a fursuit. The list consists of:
Faux Fursuit: The most common fabric used to create fursuits is faux. This model replicates the visual appearance of an animal fursuit. It is necessary to choose the correct color and touch that fits your character design.
Foam: The head, hands, and feet are often formed with craft or fabric foam. Foam serves to maintain the suit’s weight by giving these areas a certain shape.
Contact Hot Glue
The fursuit must be applied to the foam using hot glue or contact cement.
• Sewing machine: This is used to sew fursuits together to finish a suit.
• Eyes and Vision Mesh: You may either purchase plastic or resin eyes or create your own using craft foam and vision mesh.
• Padding: This is used to give specific parts of the fursuit some additional dimensions and shape. This covers the arms, stomach, and chest.
• Shoe Inserts/Paws: Before covering the feet with foam and fursuit, you would first use shoe inserts to give them a certain foundation.
3. Planning Your Design
Prior to this, it would be beneficial to make an outline of the character design. These include features such as character colours, details, and any special details that this character may have. It is always good to keep such features in mind while creating the character design.
Head Style: Choose your head’s structure. Will it be a “toon” style, a half mask, or a full-head mask? Think about the location of your vision mesh and how you will be able to see through it.
• Body Design: Will the body fit tightly or loosely? How will it be carried around by the fursuit pattern?
•Choose the Fursuit: Select the fursuit based on the design of your character. It is crucial that you choose the right fursuit based on the correct colour and texture. Remember, the fake fursuit are either longer and thicker or shorter.
4. Head Creation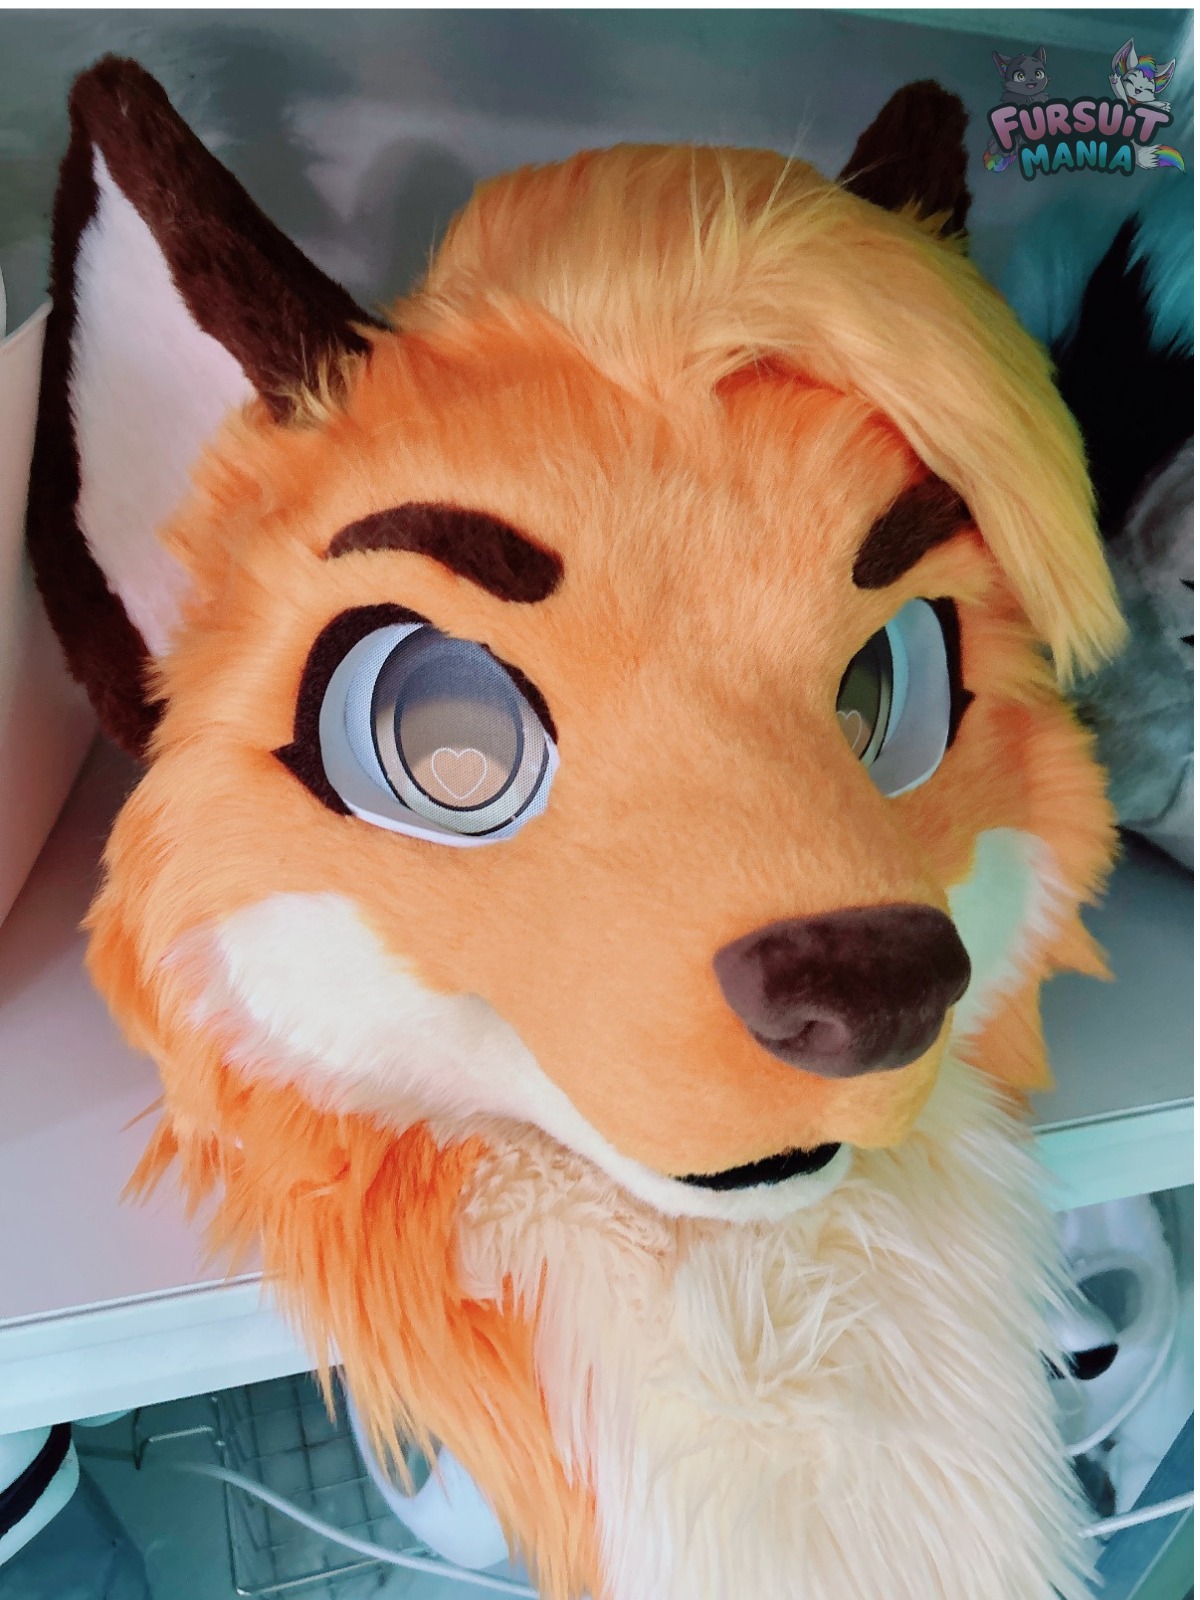
The head is normally the most difficult part in creating fursuits. Here’s how to go about the process:
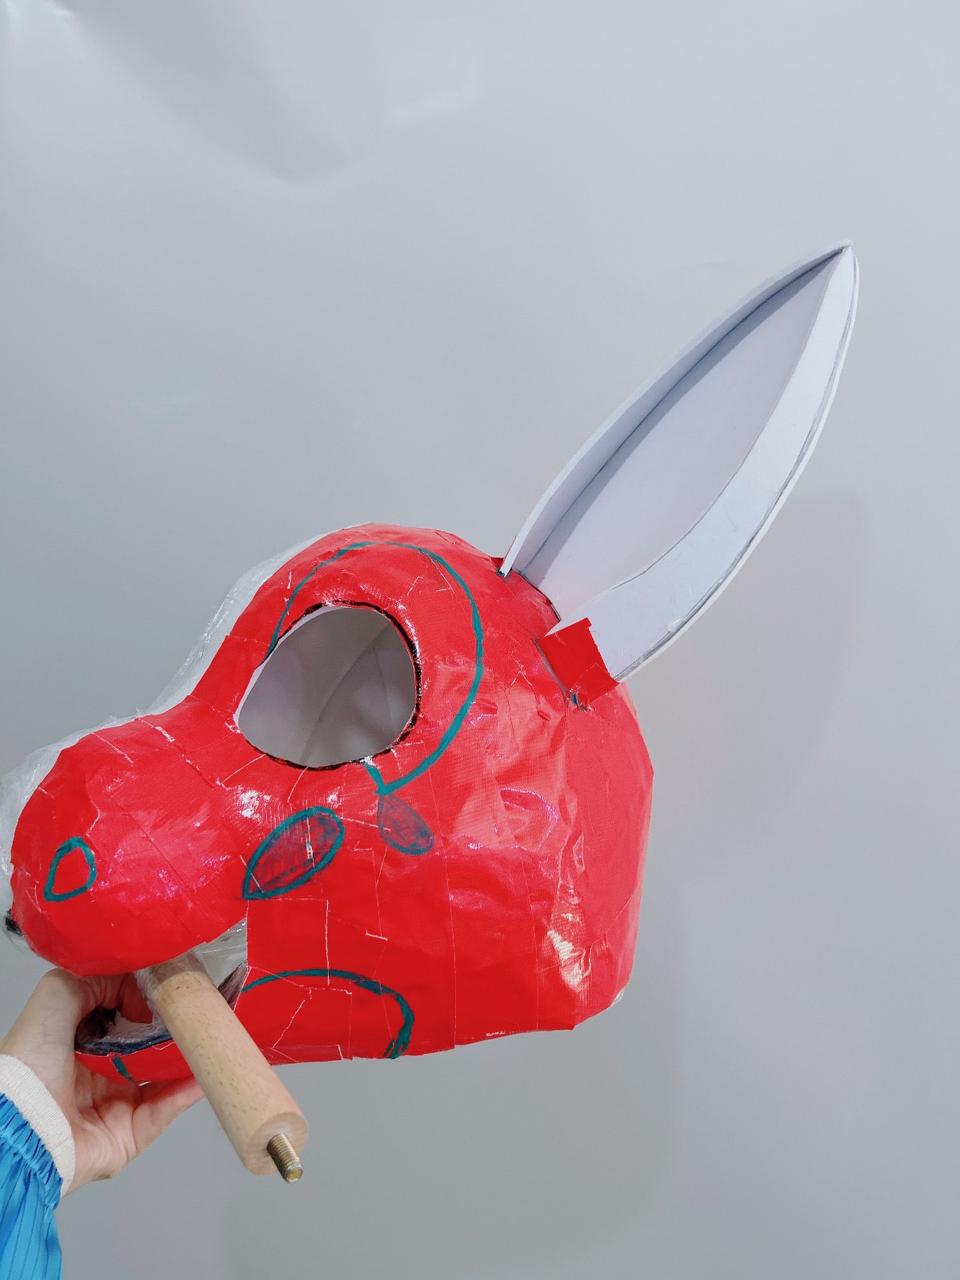
1. Form a Base: Make a head base out of foam or use a mask and add details. To make it out of foam, cut out and carve pieces of craft foam to glue together to make the face shape.
2. Crafting the Features: Additional foaming for the jaw, snout, ears, and other details. A sharp carving instrument will help smooth out the foam.
3. Padding: To end with, padding should be applied to areas such as the cheeks and around the eyes to give a realistic finish. In addition, it will be comfortable to wear.
4. Furring: Using your hot glue gun after the foam structuring process is complete, cut the faux fursuit carefully and glue it to the base. You must ensure you do not create a mess with the fursuit.
5. Eyes and Vision: For your eyes, make sure you include either plastic eyes or mesh to make them observable. Finally, glue these eyes firmly onto the head.
Detailing: Add any small details such as nose, mouth, or whiskers. You can also use paint or fabric markers to add features like freckles or other facial marks.
5. Constructing the Body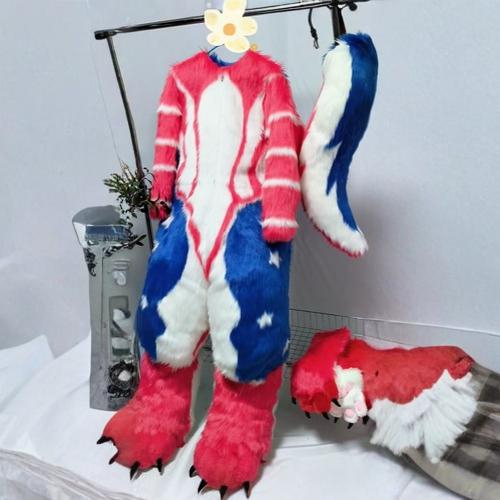
Body: This will be part two of your fursuit. This is what it consists of:
Pattern Making: Depending upon your body measurement or the body measurement for which you want a dress, a pattern has to be made using paper or muslin cloth. This particular pattern shall consist of areas like the chest, back, arms, and legs.
Cutting the Fursuit: You will need to cut your fursuit based on your patterns to create a bodysuit. Ensure you have fursuit on the edges to sew them together.
Sewing the Pieces Together: With the aid of a sewing machine, you have to sew the fursuit parts together. First, you sew the body and then proceed to sew the limbs. This is done to ensure that all fur sides are inside to cover up any rough edges.
Padding for Shape: It might be a good idea to include a few inches of additional padding to the breast, arm, and torso area to ensure you obtain a proportionate fursuit. This type of foam padding can actually be sewn into your costume.
Fitting the Suit: After assembling the body parts, it is necessary for the suit itself to be fitted. This is done so that it can be altered if necessary.
 6. Creating Hands and Feet
Hands and feet are a crucial part of a fursuit and take a little bit of craftsmanship.
1. Hands: You can choose to create them from foam or use gloves as the base. You just need to attach foam to the fingertips and paw pads to make them more defined. After making them the required shape, you need to cover them with fursuit.
2.Feet: To make the feet, you need to include shoe inserts first. Add foam to it and carve it into your character’s feet shape. Add paw pads and fursuit to it. In a pair of feet to be worn for a longer time, you need to add padding to its soles for comfort.
 7. Tail and Accessories
1. Tail: The tail is a fun feature which gives character to your fur. The tail should be made from foam that is covered with fur or a wire structure which can be moved with the body motions. The tail is then attached to the body by ensuring that it is lightweight with less drag.
2. Accessories: In relation to your character, you could use accessories such as claws, collars, or even a badge for a fursuit. These accessories could be crafted using basic materials and are essential in adding to the fursuit mania that you are experiencing.
8. Finishing Touch
Final touches by: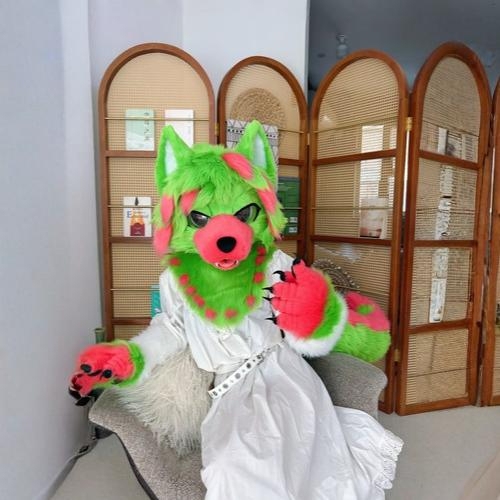
• Trimming fursuit: After all seams have been glued and sewed together, the fursuit is then trimmed to the required length to make sure the fursuit is all standard and perfect in appearance.
• Cleaning: Lightly clean the fursuit to remove loose fibers. It is normal that fursuit sheds while taking apart; clean up using a vacuum cleaner or a de-linter.
• Comfort Adjustments: Those areas in the suit that may be not comfortable to wear will have to be reviewed. The padding foams in the suit can be adjusted in such a way that it becomes comfortable to wear easily.
Conclusion
The idea of making a fursuit mania is that it isn’t easy, but once you are dedicated to the process, you can make your character come to life. The process involves many aspects, including the planning and the realism. If you are planning to make a fursuit, be sure that the effort you will be putting in will be worth the while because the final product will be a unique piece. The process of making a fursuit is one that needs patience, error, and lots of creativity, but the final product will be worth the effort. Happy fursuit-making!
Related Posts
What Is a Fursuit? Complete Beginner Guide Explained
-
Posted by
fursuitmania743@gmail.com
2 thoughts on “How to Make a Fursuit: A Step-by-Step Guide?”